(704) 568-8841

STAY IN TOUCH

Follow us on TwitterFollow us on FacebookFollow us on FlickrFollow us on Pinterest

Instagram

We are active on TwitterFacebook, and Flickr with gardening tips, news, and updates. Follow us and stay in touch.

Here are some photos from our Flickr account.

Search

FREE NEWSLETTER!

Get important updates, tips & tricks on edible organic gardening, micro-farming and more. 

If you aren't one for filling out forms, fret not!

You can call us at
(704) 568-8841

Or you can send us an email
hello@microfarmgardens.com

If you want to hire us for your project, need a quote, or if you have a few questions,
fill out the following and click submit. We'd love to help. 

Fill out my online form.

Wednesday
Nov282018

Simple, Savory, Sautéed Leafy Greens


Sure, there are plenty of clever ways to prepare leafy greens like kale, chard and collards, but sometimes simple and fast is what the situation calls for. Here’s a timeless and tasty recipe for cooking almost any leafy green variety, that will help put dinner on the table faster and with less fuss.

3 lbs kale, chard, or other leafy green

4 garlic cloves, coarsely chopped

4 tbsp olive oil

3 tablespoons red wine vinegar

Strip the leaves from the stems, and cut away any tough midribs in the leaves. Coarsely chop the greens, and rinse & drain thoroughly. 

Heat the oil in a large pot over medium high heat.  Add the greens to the pot, stirring frequently so that they’re evenly cooked. After softening the greens for about a minute, season them with salt , stir in the garlic, and cover. After just a few minutes - once all of the greens have wilted down -  remove from heat, stir in the vinegar and serve.

For a fast and easy meal, prepare some pasta while you sauté the leafy greens, and toss them together, along with a little more olive oil and a ladleful of pasta water.


Monday
Nov262018

Calculate Your Potential Rain Harvest


There are plenty of good reasons to catch and store rainwater, and people have been doing it for thousands of years. But have you ever wondered just how much water flows down your home’s roof when it rains?  Well, you could flex those grade school mathematics skills and make the computation based on the size of your house and amount of rainfall. Or you could click here to use a simple automatic rain harvesting calculator courtesy of North American Rain Systems. Happy Harvesting!


Monday
Nov262018

Kitchen Garden goes Mid-Century Modern

With a savvy eye for architectural proportion and clean lines, Nancy and Michelle transformed a charming home in a quiet South Charlotte neighborhood into a mid-century modern masterpiece. Painted brick with wood accents created a warm, modern feel, and large picture windows brought sunlight into brand new corners of the home.  A thick canopy of oak and poplar trees overhead along with a brand new privacy fence give the property the feel of a restful countryside retreat. Yet as if to make sure that there’s no mistaking that this home is a city dweller, modern frosted glass garage doors open up into an expansive pea gravel drive.  ON our first visit, tiny seedlings were just sprouting up in a new cedar potting shed built onto the back side of of the garage. In fact, it looked like the only thing left to complete their dream home was an organic garden. 

Their five new Kitchen Garden raised beds fit right into the facade like hay in a barnyard. The couple chose a sunny location just outside a large kitchen window, with a spigot just a few feet away, and easy access to the driveway and garage. Their Kitchen Garden raised beds were made with naturally durable, rough-sawn red cedar, which has plenty of rustic texture and straight-from-the-mill visual appeal. We filled the beds with an OMRI listed blend of pine bark fines, mushroom compost and expanded slate pebbles, and amended with Espoma’s iconic Plant-Tone organic fertilizer blend.


Tuesday
Nov132018

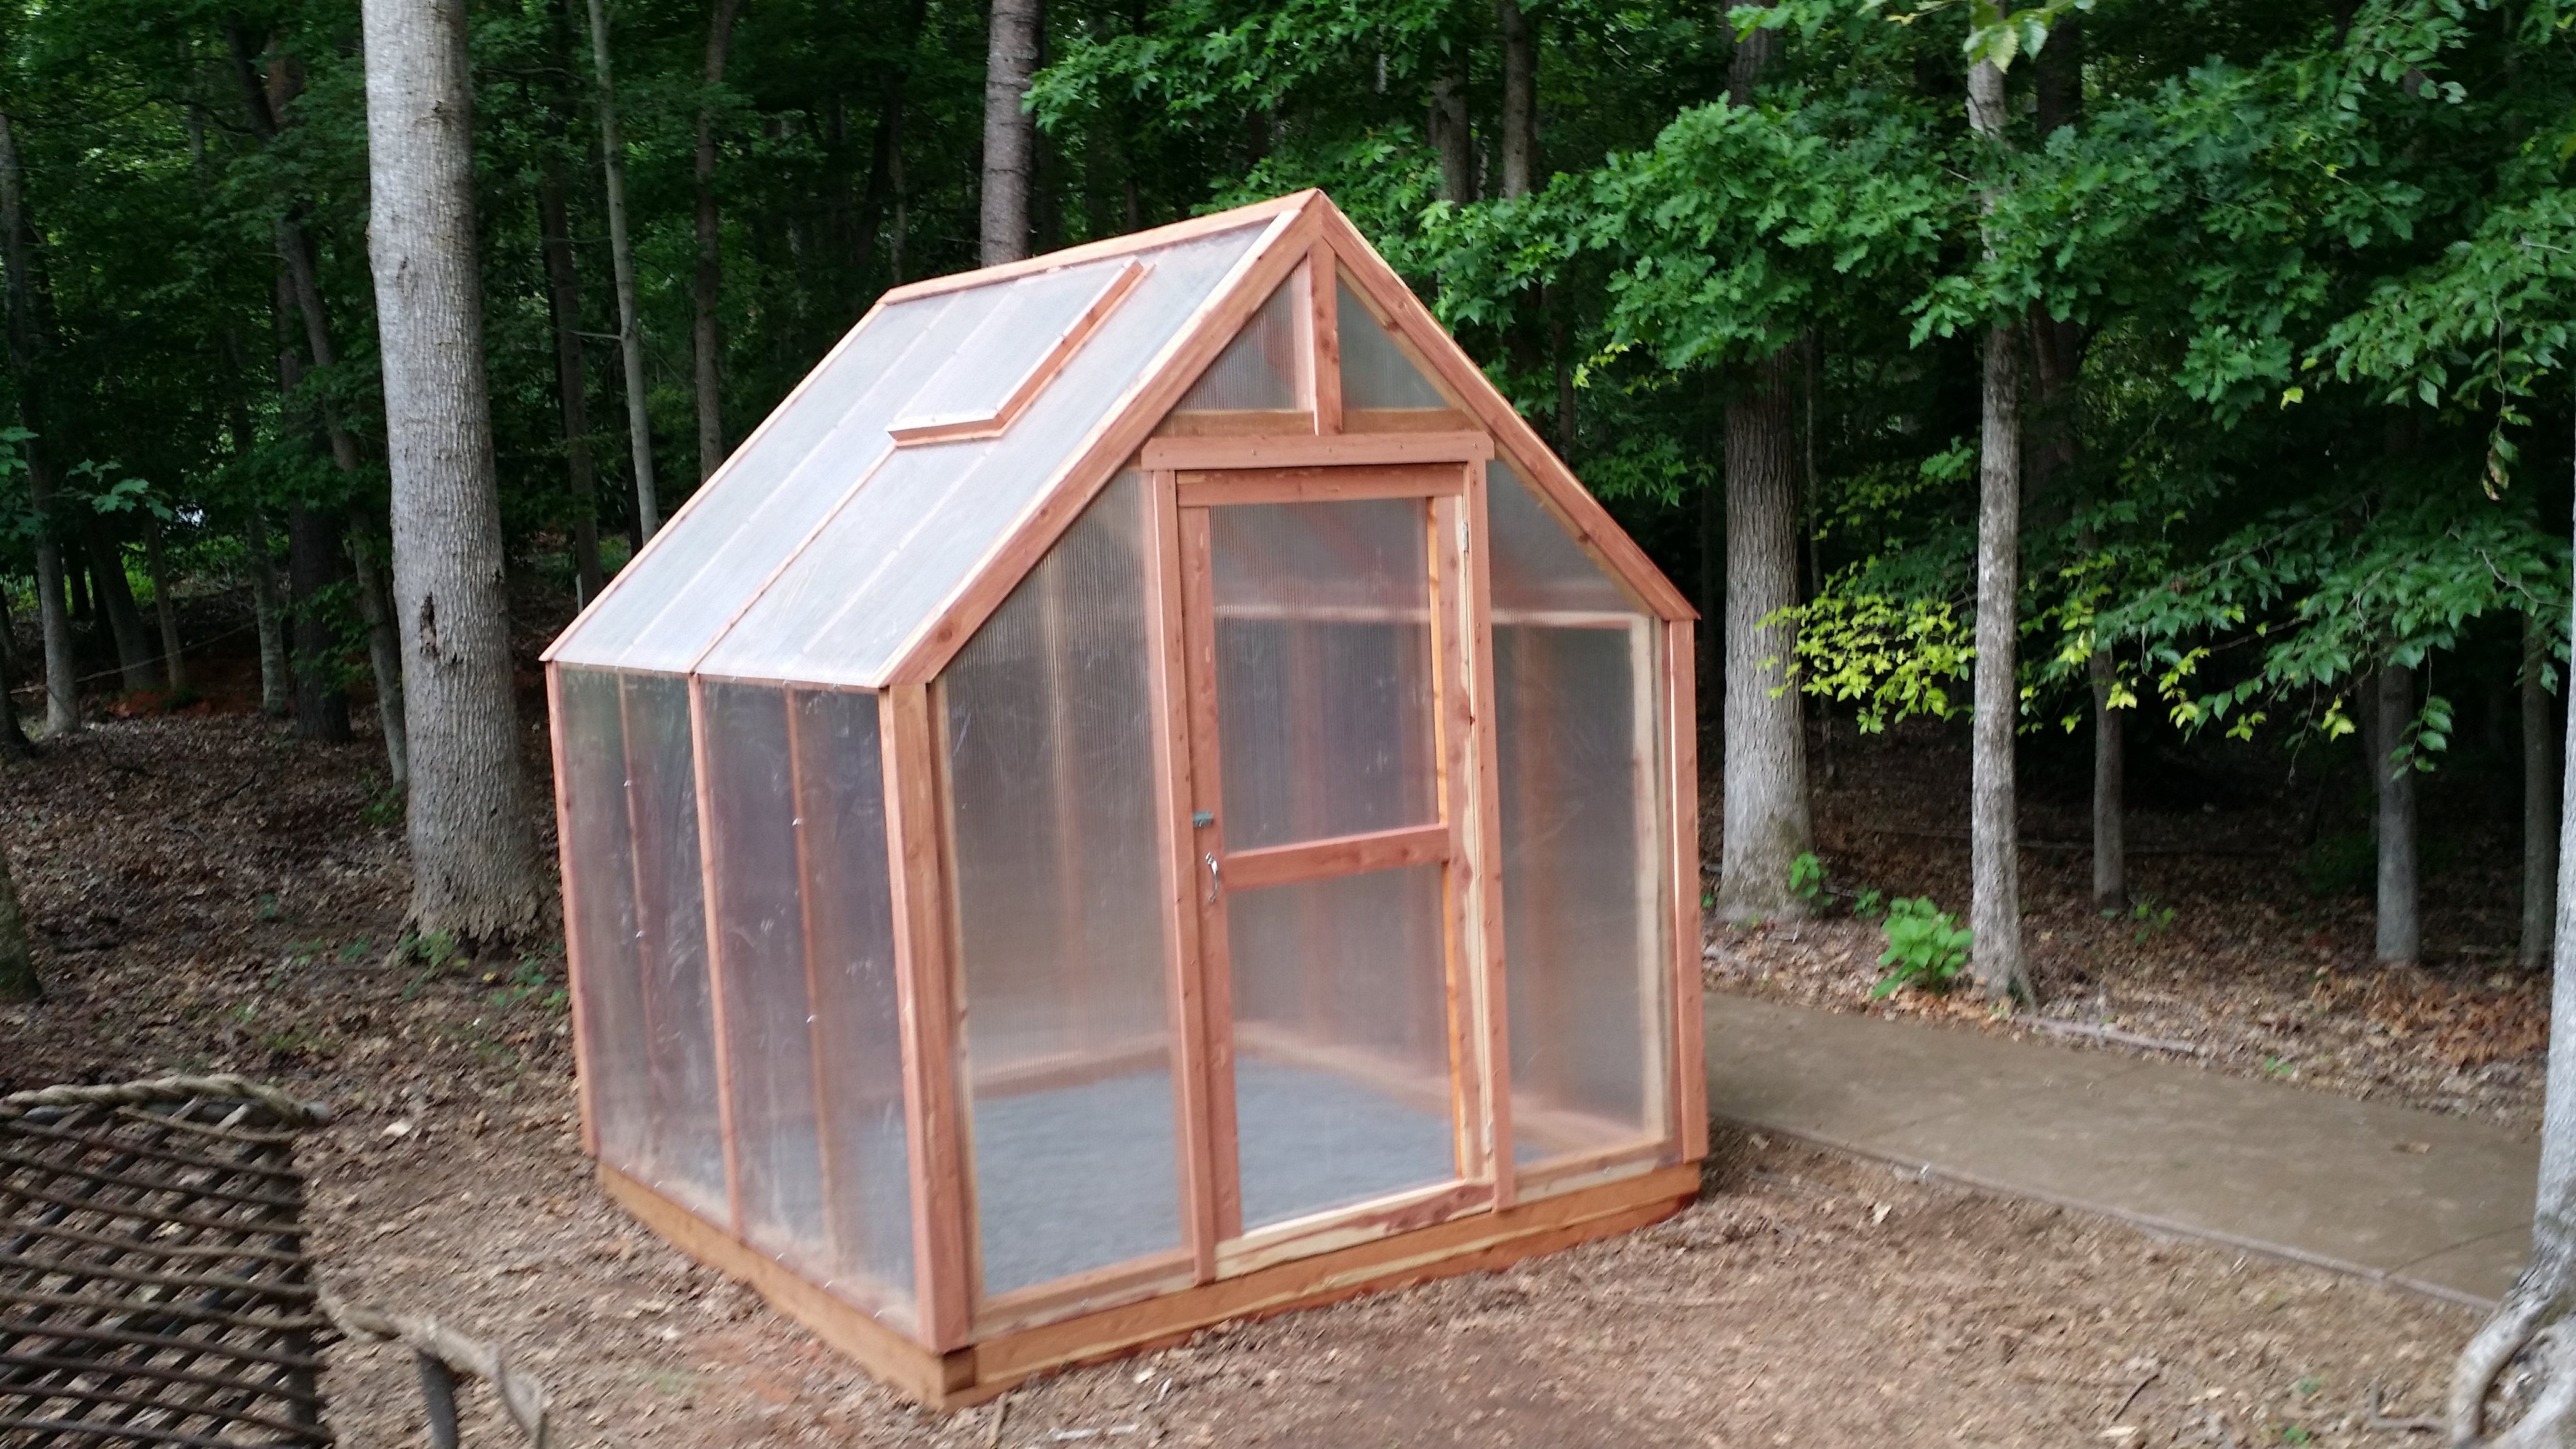
Choose the Ideal Site for Your Greenhouse

You can already picture a battalion of sprouted seedlings on sturdy cedar shelves. Automated vent windows pull fresh air past your smiling face through the cedar framed structure and  supplemental lighting clicks on at dusk exactly as programmed. Tools and supplies are neatly stowed below a smartly designed potting station.

But have you selected the best location for your greenhouse?

Choosing the right site for your greenhouse is an important initial step, and considering these factors before committing to a site will help ensure you get the most out of your investment. 


Sunlight 

Perhaps the most important factor in choosing a greenhouse site is the amount of direct sunlight the area receives. Most non-commercial, backyard greenhouses are used primarily from late fall until early spring, where a south-facing site with no obstructions and maximum winter sun exposure is ideal. Often an ideal greenhouse site is near a tree or even in the shade of a tree, which isn’t a problem provided that the tree is deciduous and will shed it’s leaves during the part of the year you’ll be using the greenhouse. In fact, shade in the summer can be a welcome relief from the punishing effects of intense heat, and help extend the life of the structure, and even make it bearable for use as a storage and workspace. Consider carefully, however, the shadow cast by permanent structures nearby, like buildings and fences. And remember that a completely glazed greenhouse design will increase the amount of available light versus designs with glazing only on the south facing side.


Wind

Try to avoid placing your greenhouse in a windy location, like an exposed hill top, which can cool the structure, increasing the cost of supplemental heat. High wind loads also place additional strain on the structure’s frame. If this is simply unavoidable, you can reduce the effects of wind by planting a hedgerow that will function as a windbreak between the prevailing winds and the greenhouse. A sturdy evergreen like the Emerald Green Arborvitae is an excellent, fast-growing variety for the Southeastern US, that will provide year-round relief from high winds. Remember to plan for eventual growth, and allow plenty of space between the greenhouse and what your new hedgerow might look like in 10-15 years. Fifteen to Twenty feet between the hedgerow and greenhouse wall is usually about right.


Other Considerations

In order to maintain a healthy grow environment, It’s important for a greenhouse to have good drainage. Avoid low lying locations that stay soggy, and if this isn’t possible, decide on the type of flooring, and on the design and location of a drainage system before construction begins.  Another drawback to low-lying areas is the effect of frost pockets - areas where cold air pools and settles - which can lower the temperature in the greenhouse. Grade the area if necessary to allow cold air to drain away from the site, or choose another location.


Also, consider carefully how convenient a prospective greenhouse site is to water and power sources, and outdoor garden areas. Even if you don’t plan to install permanent plumbing and electrical outlets inside the structure, if you can’t picture yourself lugging a hose out to the site, or ferrying plants and supplies there and back, then it’s probably to far away. 


Tuesday
Nov132018

Garlic and Perennial Onion Growing Essentials


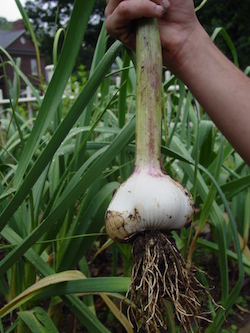
Garlic and perennial onions produce a ton of yield, with very little effort on your part, and their epic contribution in flavor in the kitchen more than offsets the little bit of preparation and planning that goes into growing them in your garden. Just remember these five essentials and you’re well on your way to a flavor-packed garlic and perennial onion harvest.


Soil Preparation

Garlic and perennial onions like shallots, leeks, and potato onions thrive in a light, loam soil type that drains well. Be sure to add plenty of organic material like compost or aged manure. Use dolomite lime or sulfur to maintain a pH between 6.5-7.0 ; Acid or alkaline soil impairs growth and delays maturity. Remember, garlic and perennial onions are heavy feeders, so be sure to amend your soil with organic sources of nitrogen, and especially phosphorous and potassium before planting. Rock phosphate and green sand are two excellent slow release sources of these two essential nutrients.


Planting & Cultivation

While it is possible in the Southeastern US to plant garlic and perennial onions in the spring, fall planting typically yields much more. Timing here is key ; There’s a sweet spot between planting too early in the fall, which invites disease and hungry rodents like voles , and too late, which hinders the roots from becoming established before the onset of winter.


Plant soft neck and hard neck garlic cloves about an inch deep, and 6” apart in rows about a foot apart. Perennial onion bulbs may be planted the same way, while Egyptian walking onions need closer to 9” between plants, and multiplier and perennial leeks only require about 2” between plants. It’s important to keep the soil evenly most while your bulbs are growing as drying out stunts development and reduces yields. Use an organic mulch in your garden to conserve water and maintain even soil moisture throughout the growing season.


Pest & Disease Control

As with most all edible varieties, the best way to control insect pests is to cultivate strong healthy plants. Rotating alliums throughout your garden will help control common insect pests like onion fly and thrips, and insecticidal soap or a horticultural oil like neem oil can be useful for controlling infestations.

Use mouse traps to catch voles and field mice, both of which travel in underground tunnels created by moles. Onion neck rot is a disease usually caused by excessive rain and poor air circulation.


Harvest, Curing & Storage

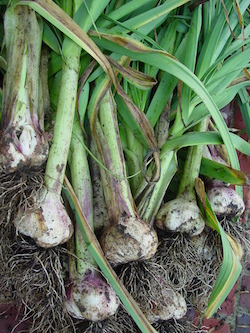
Garlic can be harvested when the lower third of the leaves have turned brown. Many gardeners make the mistake of waiting until the tops have fallen over, which is too late and makes the bulbs less attractive and harder to clean. Multiplier onions should be harvested when about half of the tops have fallen and the clusters can be gently lifted or dug up. Top set onions like Egyptian Walking Onions are usually grown for the greens, so digging up the bulbs would be mainly for transplanting. Avoid rinsing garlic and perennial onions once harvested as this encourages rot. Instead, simply shake off any excess soil and move the bulbs to a warm, dry, well ventilated area to begin the curing process, which usually take a month or two. Check frequently for spoiled bulbs, gently removing them without bruising the others. any Store cured bulbs over the winter in an unheated room like a garage or root cellar and remember that good air circulation will help prevent spoilage.