


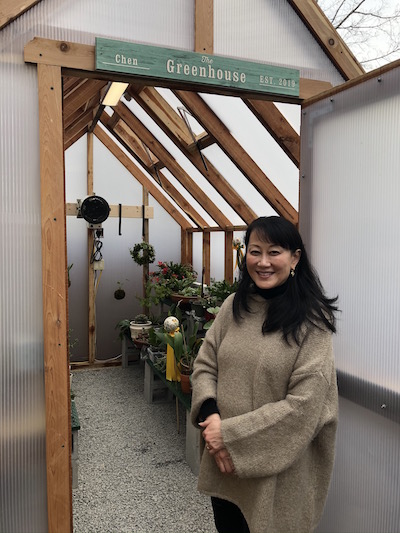
Stephanie Chen's 8'x12' Cedar-Framed Greenhouse
Stephanie Chen’s gardening hobby had gotten serious. What once fit nicely under a sunny windowsill, grew into a monster that swallowed up a big chunk of the patio, and then overran her husband Tom’s workshop. Grow lights, and fans gobbled up every outlet, and a horde of potted plants crowded every surface. It was time for a greenhouse, and luckily there was a perfect site for one - right outside Tom’s workshop.
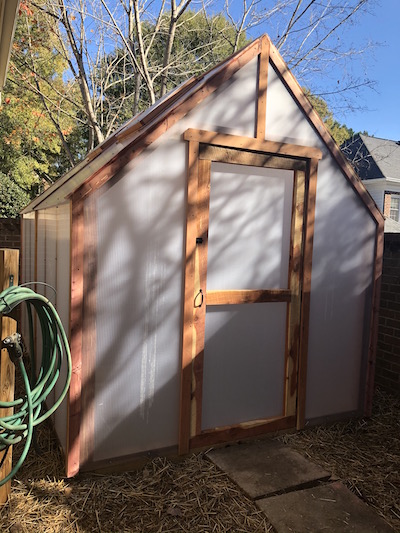
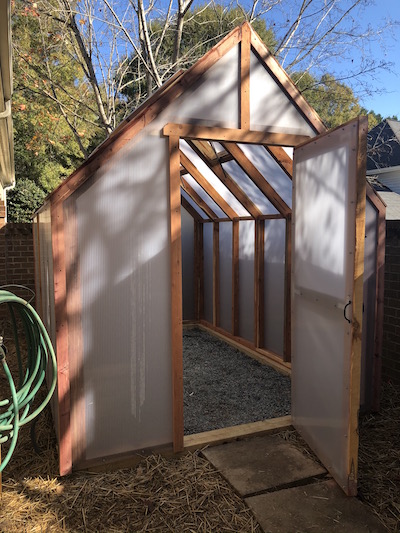
The little nook faces south and is neatly enclosed with a 5’ wall, and has a gate with access to the backyard. A maple tree in front of the greenhouse, will protect it from harsh UV exposure in the summer, while the bare branches will let sunlight through during the cooler months when the greenhouse is used most.
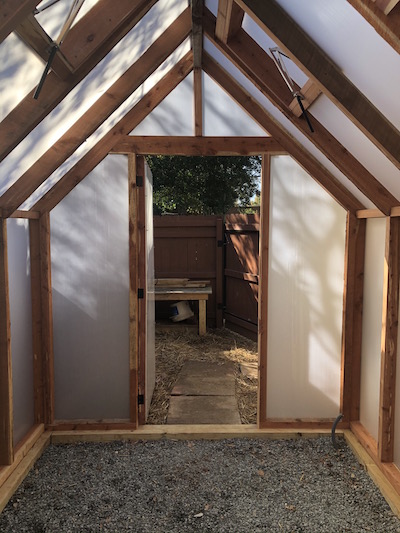
The first step with this greenhouse was to create a strong, level, 8’x12’ base using 6”x6” landscape timbers. The dimensions outer dimensions of the greenhouse frame are 8’x12’, making it absolutely essential that the outer dimensions of the base be perfectly square and exactly 8’x12’. At Stephanie’s request, we installed a French drain within the greenhouse floor that channels water to an existing drainage system nearby. Once the drain was in place, we covered it with several inches of #78 crushed gravel ; a hardworking greenhouse floor material that lets water pass right through, and compacts over time, making a comfortable, extremely durable, non-slip surface.
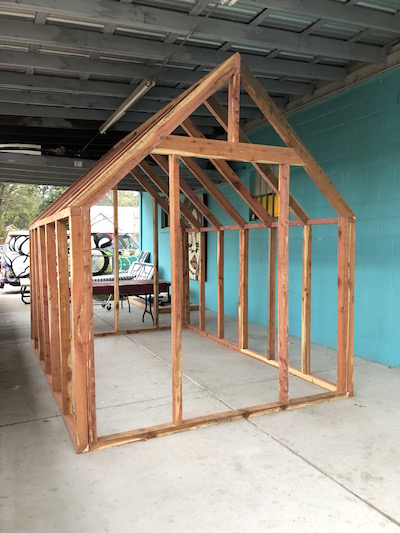
The next step was to assemble the cedar frame and anchor it securely onto the base. Whenever possible, we cut and dry fit greenhouse frame pieces in our own workshop, then transport the partially assembled frame components to the site. This minimizes noise and and time at the job site, and helps the installation process go smoothly.
And when it comes to the greenhouse frame, we believe the strength of the frame is just as important as the type of glazing. After all, what good is a greenhouse with costly glazing if it collapses during the next wind or ice storm? We cut choice pieces of red cedar, crafting stout rafters and a burly ridge pole that don’t even notice high winds and heavy snow or ice loads.
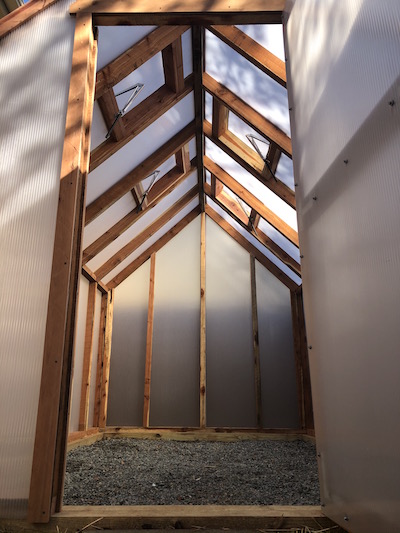
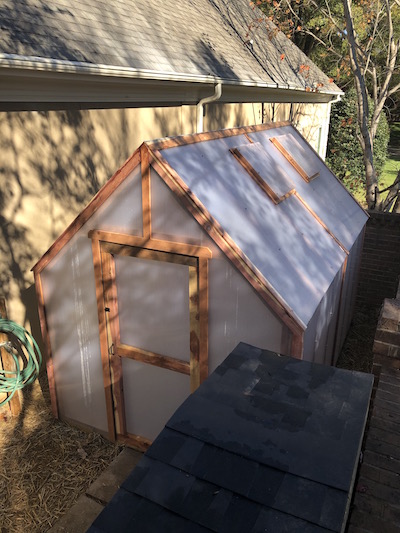
With the walls and rafters securely in place, we then framed four roof vents, including special baffles to help keep out rainwater.
Once the walls, entry doorway, and four roof vent windows framed, it was time to cut and install the glazing. For this greenhouse, we used 8mm twin-wall polycarbonate - a durable, high performance greenhouse material with excellent insulation value. Unlike glass, polycarbonate is extremely difficult to break and virtually shatterproof, making it an ideal choice for greenhouses with trees nearby, or where children or seniors may be working inside. And to help balance the intensity of the sunlight inside Stephanie’s greenhouse, we used a special type of polycarbonate with an opaque finish, called Polymatte. This special greenhouse glazing made by Polygal diffuses sunlight, helping to prevent scalding damage to plants on clear, sunny days.
With the entry door and automated vent window openers installed, it was finally time to put the greenhouse into action, and it’s hard to say who was happier ; Stephanie or Tom. At long last, Tom got his workshop back, and Stephanie’s plant diversion finally got a home of its own. But it was actually Stephanie’s congregation of plants were the happiest of all - all nice and cozy in their new cedar-framed greenhouse.


Reader Comments